The Secret to Bakery-Perfect Frosted Sugar Cookies That Don't Spread
There’s a special kind of magic in a batch of perfect frosted sugar cookies. They’re the showstoppers of holiday tables, the stars of birthday parties, and the comforting classic that brings a smile to any face. Yet, for many home bakers, the dream of those beautifully defined, crisp-edged cut-out cookies often crumbles under the harsh reality of spreading dough. You envision elegant snowflakes or whimsical hearts, only to pull shapeless, puffy blobs from the oven. If you’ve ever wondered how bakeries achieve those pristine designs while your creations melt into an amorphous expanse, you're not alone. The good news? The secret isn't a professional pastry degree or some elusive ingredient. It’s far simpler, resting primarily on two fundamental principles: proper dough chilling and precise baking.
Forget the frustration of flat, blurry cookies. This comprehensive guide will equip you with the knowledge and techniques to bake perfect frosted sugar cookies every single time. We'll demystify the common pitfalls and empower you to create soft, tender, and beautifully shaped cookies that are truly bakery-worthy, all from your own kitchen.
Beyond the Recipe: Why Your Sugar Cookies Spread (and How to Conquer It)
The primary culprit behind misshapen sugar cookies is almost always butter—specifically, butter that's too warm or hasn't been properly chilled within the dough. Butter is a fat, and like all fats, it melts when heated. If your dough goes into a hot oven with butter that’s already too soft, or without sufficient time to firm up, that butter will melt rapidly and spread before the flour and egg have a chance to set the cookie's structure. This results in wide, thin, often greasy cookies that have lost their charming cut-out shape.
Here’s a deeper dive into the factors that influence spread and how to control them:
- Butter Temperature is Paramount: Your butter should be softened, but not greasy or melted, when you start creaming. Think "cool room temperature" – you should be able to press an indent with your finger, but it should still hold its shape. Melted butter means instant spread.
- The Unsung Hero: Dough Chilling: This is arguably the most critical step for non-spreading cookies. Chilling the dough solidifies the butter, essentially locking in the shape. When the chilled dough hits the hot oven, the butter takes longer to melt, allowing the cookie's structure to set before significant spreading can occur. A minimum of one hour is essential, but longer (even overnight) yields superior results.
- Accurate Flour Measurement: Too little flour results in a wet, sticky dough prone to spreading. Always measure your flour by weight for the most accurate results, or use the "spoon and level" method: spoon flour into your measuring cup and level off with a straight edge, rather than scooping directly from the bag (which compacts flour and adds too much).
- Don't Overwork the Dough: Once you add the flour, mix only until just combined. Overmixing develops gluten, which can lead to tougher cookies and may contribute to slight shrinkage or misshapen edges during baking.
- Oven Temperature and Baking Time: An oven that runs too cool will give the butter more time to melt before the cookie sets, leading to spread. Ensure your oven is accurately calibrated (an oven thermometer is a smart investment). Likewise, slightly underbaking your cookies is key to a soft, tender texture that doesn't crack, without risking excessive spread or browning.
The Essential Ingredients: Quality Matters for Perfect Frosted Sugar Cookies
While technique is crucial, the foundation of any great cookie starts with quality ingredients used correctly. For your soft, tender, and never-spread cookies, pay attention to these essentials:
- Unsalted Butter: Always opt for unsalted butter. This gives you complete control over the salt content in your recipe, allowing you to balance the sweetness precisely. As discussed, its temperature is non-negotiable. If your butter is too cold, cut it into small pieces and let it sit for about 15-20 minutes, or gently warm it by briefly placing the bowl over a pot of warm water (but watch it like a hawk!).
- Granulated Sugar: This is your primary sweetener and a key structural component. Unlike powdered sugar, granulated sugar contributes to that slight crispness on the edges and helps maintain the cookie's shape.
- Large Egg: The egg acts as a binder, helping to hold all the ingredients together and providing richness. Use a large egg at room temperature for better emulsion with the butter and sugar.
- Pure Vanilla Extract: Don't skimp here! Real vanilla extract makes a significant difference in flavor, adding warmth and depth that imitation vanilla simply can't replicate.
- All-Purpose Flour: This is your go-to flour for sugar cookies. Its moderate protein content provides enough structure to hold the cookie's shape without making them tough (like bread flour) or too delicate (like cake flour). Remember the "spoon and level" method for accurate measurement.
- Baking Powder: A small amount of baking powder provides a subtle lift, giving your cookies a delicate tenderness without making them puffy or cake-like.
- Salt: A pinch of salt is vital for balancing the sweetness and enhancing all the other flavors in the cookie.
Mastering the Method: Step-by-Step to Non-Spreading Perfection
Now that we understand the 'whys,' let's put it all into practice. Follow these steps meticulously, and you'll be on your way to bakery-perfect results.
1. Creaming Butter and Sugar to Perfection
In a large mixing bowl, combine your softened unsalted butter and granulated sugar. Beat them together with an electric mixer (handheld or stand mixer) on medium-high speed for 3-4 minutes. This isn't just about mixing; it's about aeration. You want the mixture to become light, fluffy, and visibly paler in color, almost white. This step incorporates air, which contributes to the cookies' tender texture.
2. Incorporating Wet Ingredients
Beat in the large egg and pure vanilla extract until just combined. Scrape down the sides of the bowl to ensure everything is evenly incorporated. Avoid overmixing once the egg is added.
3. Adding Dry Ingredients (Carefully!)
In a separate bowl, whisk together your all-purpose flour, baking powder, and salt. Gradually add the dry ingredients to the wet ingredients, mixing on low speed until the dough just comes together. The moment you no longer see streaks of dry flour, stop mixing. Overmixing develops gluten, which can lead to tougher cookies.
4. The Crucial Chill Factor
Divide your dough in half, flatten each half into a disc, and wrap tightly in plastic wrap. Refrigerate for a minimum of 1 hour, but for truly non-spreading, crisp-edged cookies, chilling for 2-4 hours, or even overnight, is highly recommended. This chilling time allows the butter to firm up and the flour to fully hydrate, preventing excessive spread.
5. Rolling and Cutting with Precision
- On a lightly floured surface (or between two sheets of parchment paper), roll out one disc of chilled dough to a consistent thickness, usually about 1/4 inch. Consistent thickness ensures even baking.
- Dip your cookie cutters in flour before each cut to prevent sticking. Press firmly and lift straight up.
- Carefully transfer the cut-out shapes to a baking sheet lined with parchment paper or a silicone baking mat. If your kitchen is warm or if the dough has softened significantly while rolling, place the cut-out cookies back in the fridge for another 10-15 minutes before baking. This second chill is an extra layer of protection against spread.
6. Baking for Tenderness (Not Browning)
Preheat your oven to 375°F (190°C). Bake the cookies for 8-10 minutes, depending on their size and your oven. Look for edges that are barely golden and centers that still look slightly soft or puffy. Do not wait for them to brown significantly, as this will result in a dry, crumbly cookie. A slight underbake is the secret to that tender, melt-in-your-mouth texture.
Once baked, let the cookies cool on the baking sheet for 5 minutes before transferring them to a wire rack to cool completely. This resting period helps them firm up without breaking.
7. The Art of Frosting and Decorating
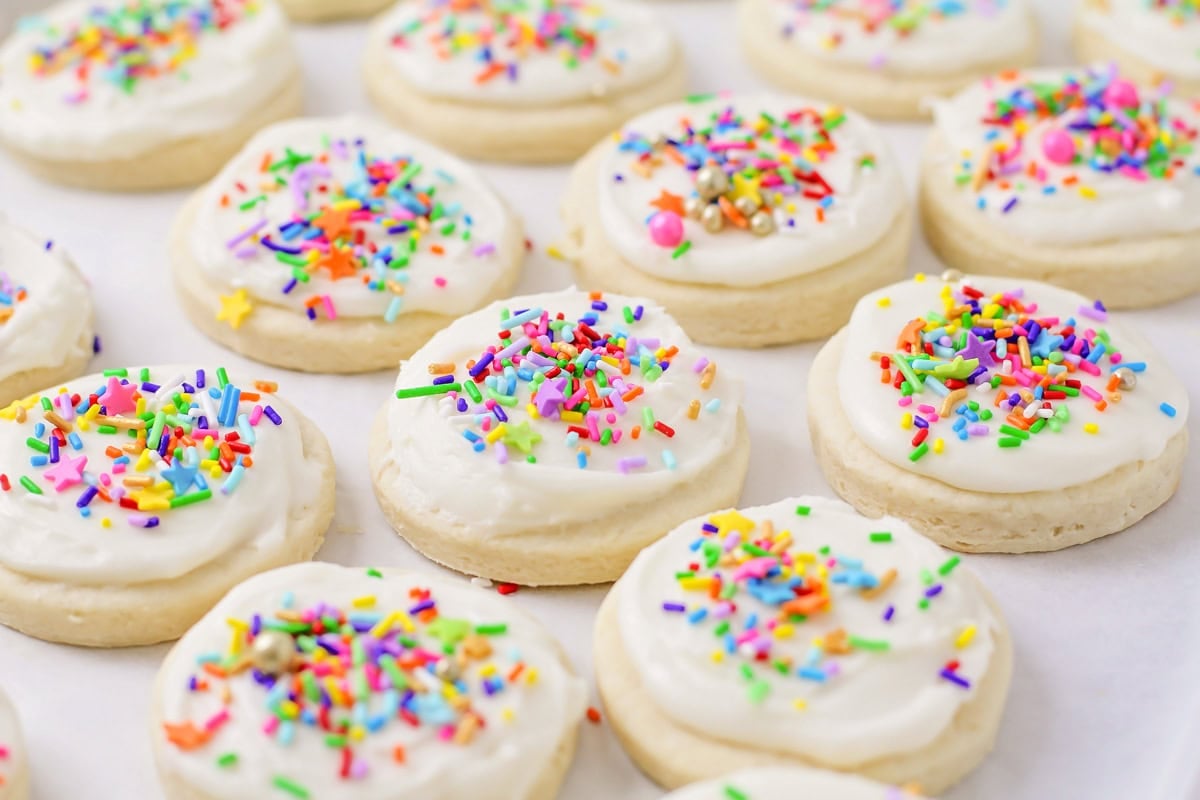
This is where the fun begins! Ensure your cookies are completely cool before applying any frosting. Warm cookies will melt your beautiful designs. Whether you choose a classic royal icing (which dries hard for intricate details) or a rich, creamy buttercream (for a softer bite), your perfectly shaped cookies will be the ideal canvas. Add sprinkles, colored sugar, or edible glitter to bring your vision to life!
Conclusion
The journey to crafting perfect frosted sugar cookies that don't spread is truly a rewarding one. It boils down to understanding the crucial roles of butter temperature, proper dough chilling, and a gentle hand in baking. By embracing these simple yet fundamental techniques – giving your butter enough time to firm up in the fridge, being precise with your flour, and knowing when to pull them from the oven – you'll unlock the secret to bakery-quality results. Say goodbye to spreading cookie woes and hello to beautifully defined, irresistibly tender, and utterly delicious cookies that will impress everyone. So grab your mixer, a good block of butter, and get ready to create some cookie magic!
